We have a few articles devoted to the layout of magics and where the strings go, but the actual technique of how to remove or replace strings hasn't been addressed yet which is probably the fundamental barrier for someone wanting to try their hand at a custom magic.
I'll show the technique for removing and adding strings in just a few pictures. My beautiful hand model is Michelle, my wife. I would have done it myself, except that I had black ink all over my fingers which isn't terribly attractive.
Removing String Loops
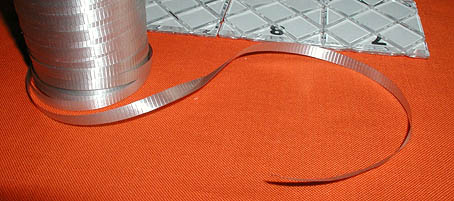 1. To pull and guide the strings, I use a type of gift twine, or ribbon. It is flat but with some width, and it is smooth.
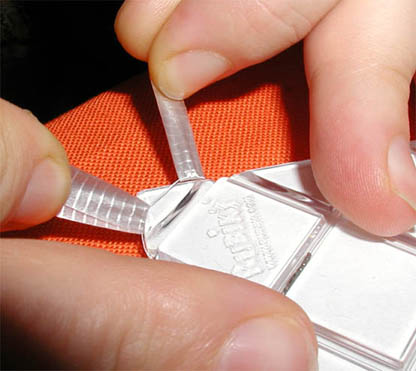
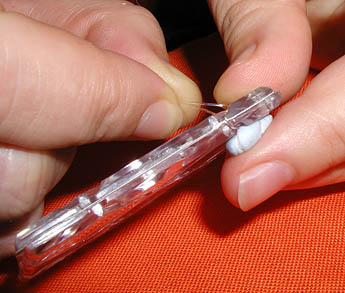
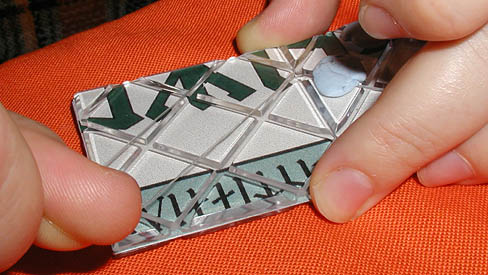
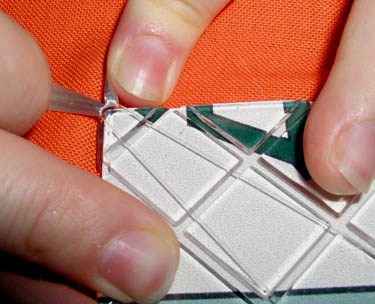
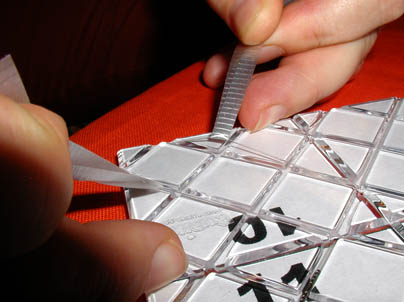 2. To start removing strings, get a piece of ribbon twine under both strands of nylon. From here pull gently up, stretching lightly. This also pulls a little slack from the other tiles towards the area being worked on. Please don't try this in a cold environment. Chances are, you'll snap the twine where the sleaves join. Do it in a warm environment to allow some flexability with the nylon strings.
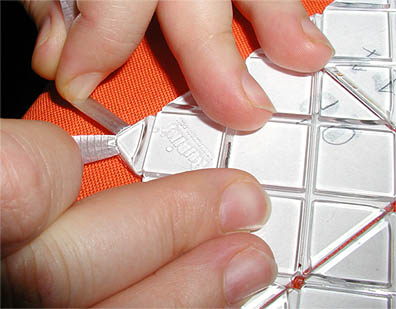
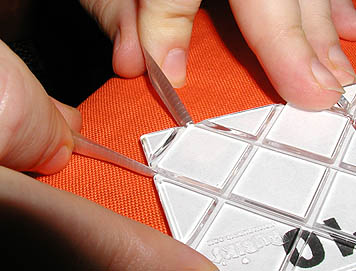 3. Slide the two ribbons along under the tile into the corner so they meet together.
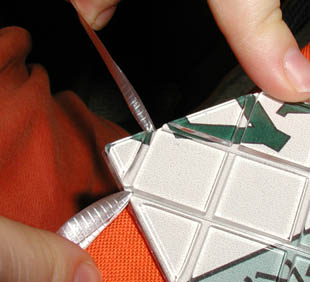
 4. Turn the magic over. Again, start lightly stretching and pulling the string towards the corner tip.
 5. Allow it to pop over but guide it completely over the pair of tiles so that the string doesn't get caught between the two tile waffers.
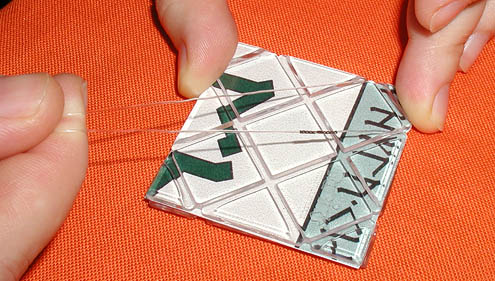
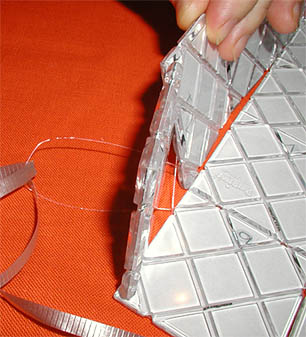 6. The string loop should be free and undamaged. Most likely, you can remove it from the three tiles it connects. If you can't remove it completely, simply move on to the next string. Eventually, the whole magic will collapse and you can remove all the loops. Keep the loops together over a bottle or something so they don't get lost or tangled up.
I suggest you read the other articles on Rubik's Magic layouts because it's tricky to work out the picture arrangements. Anyway, once your pattern is ready, you can assemble.
Adding a String Loop
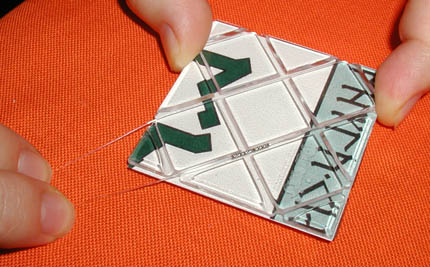
 1. Most of the time, you should join 3 tiles at a time. Each set of three requires two loops of string at minimum. I tend to add the minimum amount of strings, then add others after the puzzle is complete and working. Get three tiles ready and get a loop of string. Hook the start of the loop under the tile.
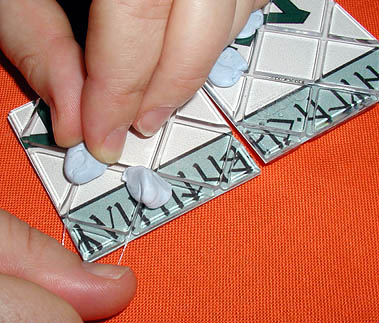
 2. Attach the start of the loop under the corner and add a blob of Blutack. Blutack is not very strong but it holds things temporarily in place.
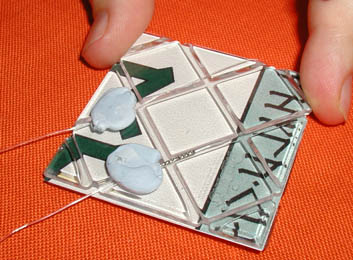 3. Bring the two strands down and two more pieces of Blutack at the ends.
 4. The strands cross, one strand loops under the current tile, the other slips under the adjacent tile as per the typical pattern in the other articles.
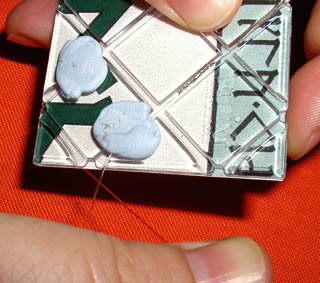
 5. Both strands then follow up the track of the next tile. Be very careful where the loops go. It's easy to make a mistake.
 6. Blob two more pieces of Blutack to the ends of these tracks. Only the five pieces of Blutack are required. You'll be able to handle the final tile.
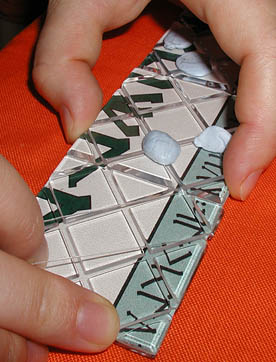 7. Bring the loops down across the third tile. Be careful which direction your strings go.
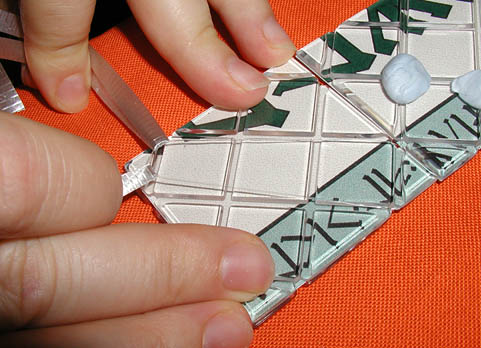 8. Slip the two ribbons at the end of the loop. Use the thumb and forefinger of both hands to grip the ribbons, while bracing the tiles with your other fingers. Can be tricky but you get used to it. Use the ribbons to do some slight stretching.
 9. Then draw the edge of the loop over the lip of the tile. The loop will snap into place.
 10. Then you can pull the trapped ribbons out. Then onto the next loop.
That is the basic technique. Beyond that, try to join three tiles at a time then attach all together. Test each completed set of three tiles as you go as it is very easy to make a mistake. Always keep a complete magic nearby to compare the stringing.